Article
Lesson content
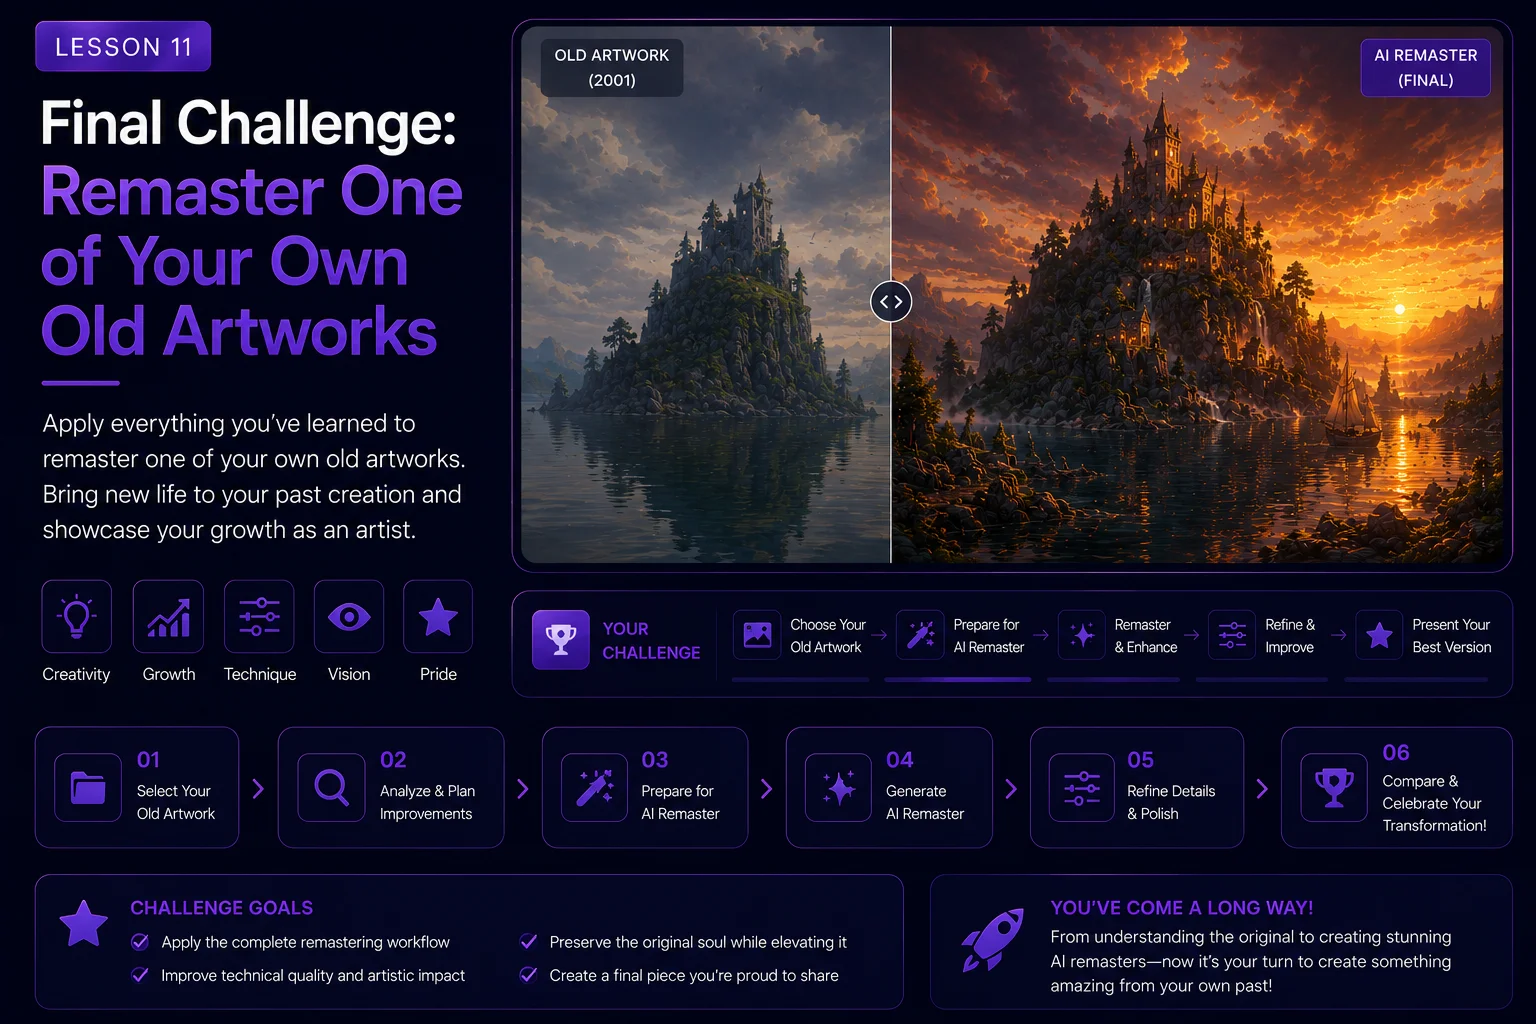
Final Challenge: Remaster One of Your Own Old Artworks
You have now completed the full Dream Island remaster workflow. You studied the original artwork, prepared the source image, created a faithful AI remaster, improved materials, expanded the scene, explored creative reinterpretation, compared versions, and prepared the final wallpaper for Skinbase.
Now it is time to apply the same process to one of your own older artworks.
This final challenge is designed to help you practice control, not randomness. The goal is not simply to generate a prettier image. The goal is to respect the original idea, improve it with intention, and create a finished result that can be presented clearly as a before-and-after project.
Challenge Goal
Choose one of your own older artworks and create an AI-assisted remaster.
Your final result should include:
the original source image
a short analysis of what should be preserved
a cleaned or prepared source version if needed
a faithful remaster
one optional creative reinterpretation
a final selected wallpaper-ready image
title, tags, description, and AI transparency note
By the end of the challenge, you should have a complete remaster project that could be uploaded to Skinbase or used as part of your creative portfolio.
Step 1: Choose the Right Artwork
Pick an older image that has a strong idea but could benefit from modern improvement.
Good source images usually have:
a clear subject
recognizable composition
strong mood
interesting colors or shapes
visible technical limitations
enough detail for AI to understand
personal or historical value
Avoid choosing an image that is too broken, too tiny, or too unclear for the first attempt. The best learning result comes from an image that already has a good foundation.
Step 2: Read the Original Image
Before using AI, analyze the artwork.
Write a short visual identity statement.
Example:
text A mysterious fantasy landscape with a rocky island, reflective water, dramatic clouds, and a calm dreamlike atmosphere.
For your own artwork, answer these questions:
What is the main subject?
What mood should stay the same?
What shapes define the image?
What colors are important?
What should be preserved?
What can be improved?
What should not be added too early?
This analysis becomes your creative anchor.
Step 3: Prepare the Source Image
Make a safe copy of the original image before editing.
Prepare your files clearly:
original untouched version
cleaned working version
AI-ready version
generated remaster versions
final selected version
Clean only what is necessary. You may remove compression noise, unwanted text, small artifacts, or weak contrast, but do not change the concept too early.
If the image is small, create a gentle upscale before using it as an AI reference.
Step 4: Create a Faithful Remaster
Your first AI version should stay close to the original.
Use a prompt that preserves the main composition and improves only quality, lighting, materials, atmosphere, and clarity.
Prompt structure:
text Use the original artwork as a visual reference. Preserve the main subject, composition, camera angle, mood, color direction, and visual identity. Create a faithful modern remaster with improved lighting, richer detail, cleaner materials, better atmosphere, higher clarity, and wallpaper-ready quality. Do not add major new story elements.
Negative prompt structure:
text no new main subject, no different camera angle, no unrelated objects, no readable text, no logo, no watermark, no overcrowded composition, no extreme style change, no distorted details
Generate several versions and choose the one that still feels most connected to the original.
Step 5: Improve Key Materials
After the faithful remaster, focus on the most important visual materials in your image.
Depending on the artwork, this might include:
water
clouds
stone
metal
skin
fabric
plants
glass
light effects
background atmosphere
Use focused improvement prompts instead of asking AI to change everything at once.
Example:
text Enhance the existing scene by improving the natural materials, lighting, texture detail, and atmospheric depth while preserving the original composition and mood.
The goal is to make the image stronger without losing its identity.
Step 6: Create an Optional Reinterpretation
After you have a faithful remaster, create one more creative version.
This version can add new story, stronger environment detail, or a new visual direction.
Possible reinterpretation directions:
fantasy version
cinematic version
sci-fi version
cozy version
dramatic storm version
realistic version
painterly version
game concept version
Be honest about the label. If the image changes significantly, it is no longer only a remaster. It becomes a creative reinterpretation.
Step 7: Compare the Results
Place your versions side by side.
Compare:
original connection
composition strength
mood
material quality
technical cleanliness
wallpaper usability
thumbnail readability
story balance
AI artifacts
Do not automatically choose the most dramatic image. Choose the image that best serves your goal.
You may keep two finals:
one faithful remaster
one creative reinterpretation
This gives viewers a clear understanding of both the respectful and expanded directions.
Step 8: Prepare the Final Wallpaper
Before publishing, inspect the final image carefully.
Check for:
fake text
strange hands or faces if people are included
broken architecture
distorted objects
noisy details
bad reflections
over-sharpening
compression damage
unwanted logos or watermarks
Export a clean high-quality version. Keep a master file and a separate upload version.
Step 9: Write the Skinbase Metadata
Prepare a clear title, description, category, and tags.
Example title:
text My Artwork 2026 AI Remaster
Example description:
text A modern AI-assisted remaster of my original artwork. The main composition, mood, and concept were preserved, while lighting, atmosphere, texture detail, and wallpaper presentation were improved for a cleaner modern result.
For a reinterpretation:
text A creative AI-assisted reinterpretation of my original artwork. The source concept and composition inspired this new version, while the scene was expanded with new atmosphere, story detail, and modern visual treatment.
Suggested tags:
text ai-remaster, before-after, digital-art, wallpaper, image-enhancement, reimagined, creative-workflow
Add more tags that describe your actual subject.
Step 10: Present the Before and After
A remaster is most powerful when viewers can see the journey.
Prepare at least one comparison:
original vs faithful remaster
faithful remaster vs creative reinterpretation
full step-by-step sequence
before-and-after slider if available
The comparison helps viewers understand what changed and why.
Final Submission Checklist
Before finishing the challenge, make sure you have:
selected one older artwork you own
preserved the original file
written a short source analysis
created a faithful AI remaster
created one optional creative reinterpretation
compared the versions
selected the best final image
checked for AI artifacts
prepared a clean export
written honest title and description
added relevant tags
disclosed the AI-assisted process
If you completed these steps, you have finished the challenge.
Reflection Questions
After the project, write a short reflection.
Answer:
What did the original artwork already do well?
What did AI improve successfully?
What did AI try to change too much?
Which prompt worked best?
Which version felt most honest to the source?
Would you publish the faithful version, the creative version, or both?
These reflections will make your next remaster stronger.
Lesson Takeaway
The best AI remasters are guided by respect, observation, and clear creative decisions.
This final challenge gives you a repeatable workflow: read the original, preserve its identity, improve technical quality, explore one creative direction, compare honestly, and prepare the final image with transparent metadata.
When done well, AI remastering does not erase old artwork. It gives it a new life.
Course navigation