Article
Lesson content
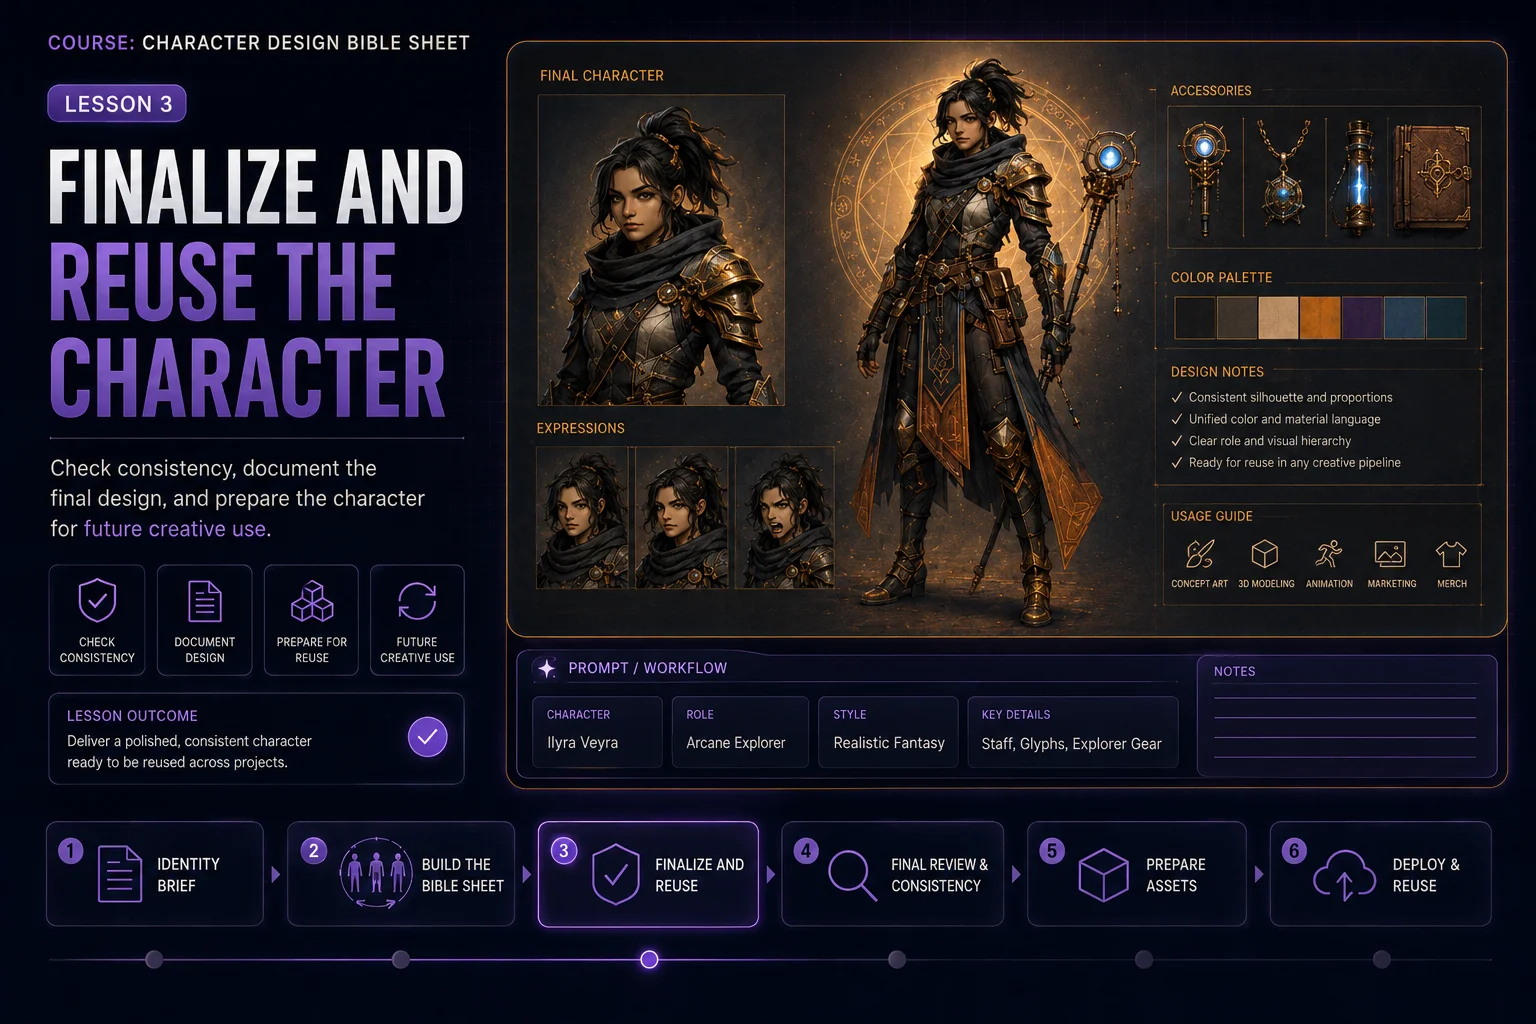
Finalize and Reuse the Character
A character bible sheet is most useful when it becomes a reusable creative reference. The final step is not only choosing the best image. You also need to check consistency, document the design, and prepare the character for future prompts, stories, games, mascots, avatars, or illustration projects.
In this lesson, you will learn how to review your character sheet and turn it into a practical character reference system.

What Finalizing Means
Finalizing a character means making sure the design is clear enough to use again.
A finished character bible sheet should answer these questions:
What does the character look like from the front, side, and back?
What are the most important facial features?
What are the main outfit anchors?
What colors define the character?
Which accessories must stay consistent?
What expressions fit the character?
What details should future artwork preserve?
If the sheet answers these clearly, it can guide future images much better than a single portrait.
Step 1: Choose the Strongest Sheet
If you generated multiple versions, compare them carefully.
Do not choose only the prettiest image. Choose the most useful reference.
Look for:
consistent front, side, and back views
same face across expressions
same hairstyle across all sections
stable outfit design
clear accessories
useful color palette
readable silhouette
clean layout
minimal fake text or visual clutter
The best sheet should feel organized and reusable.

Step 2: Check Character Consistency
Consistency is the main purpose of a character bible sheet.
Ask these questions:
Does the character look like the same person in every view?
Do the body proportions stay similar?
Does the hairstyle stay the same?
Are the facial features stable?
Are the outfit pieces repeated correctly?
Do the accessories appear in the right places?
Do outfit variants still belong to the same character?
If the answer is no, the sheet may need another generation or manual cleanup.

Step 3: Identify the Design Anchors
Design anchors are the details that make the character recognizable.
Examples:
short violet hair teal visor goggles orange gloves cropped utility jacket compact silhouette small tool belt magnetic boots patch-covered backpack
These anchors should appear in your future prompts.
A character without clear anchors can change too much between images.

Step 4: Write the Final Character Description
Create one clean paragraph that describes the final character.
Example:
A cheerful retro space mechanic with a compact silhouette, expressive friendly face, short violet hair, teal visor goggles, a cropped cream utility jacket, dark navy work pants, orange gloves, magnetic boots, a small tool belt, wrist scanner, and patch-covered mini backpack. The character feels practical, playful, clever, and workshop-ready, with a teal, orange, dark navy, cream, silver, and violet color palette.
This paragraph becomes your reusable character prompt base.

Step 5: Create a Reusable Character Prompt
A reusable character prompt should preserve identity while allowing new scenes, poses, or outfits.
Use this structure:
Create the same original character: [final character description]. Keep the same face, hairstyle, body proportions, silhouette, color palette, outfit language, and key accessories. Show the character [new scene or task]. Style: [desired style].
Example:
Create the same original retro space mechanic character: cheerful, compact silhouette, expressive friendly face, short violet hair, teal visor goggles, cropped cream utility jacket, dark navy work pants, orange gloves, magnetic boots, small tool belt, wrist scanner, and patch-covered mini backpack. Keep the same face, hairstyle, body proportions, color palette, outfit language, and key accessories. Show the character repairing a small floating robot in a colorful retro sci-fi workshop. Style: clean game-ready concept art, polished lighting, readable silhouette.
This lets you reuse the character while changing the situation.

Step 6: Prepare a Character Notes Block
A notes block helps you remember what must stay consistent.
Use this format:
Character name: Role: Personality: Silhouette: Face and hair: Main outfit: Palette: Accessories: Must stay consistent: Can vary:
Example:
Character name: Nova Wrench
Role: Retro space mechanic.
Personality: Cheerful, stubborn, practical, clever.
Silhouette: Compact body shape, rounded boots, large gloves, small backpack.
Face and hair: Expressive friendly face, short violet hair, teal visor goggles.
Main outfit: Cropped cream utility jacket, dark navy work pants, orange gloves, magnetic boots, tool belt.
Palette: Teal, orange, dark navy, cream, silver, violet.
Accessories: Wrench, wrist scanner, patch-covered mini backpack, visor goggles.
Must stay consistent: Face, hairstyle, visor, gloves, jacket shape, boots, body proportions, palette.
Can vary: Pose, facial expression, background, small tools, lighting, scene activity.
Step 7: Decide What Can Change
Not every detail must remain fixed. Good character reuse allows some variation.
Usually fixed:
face
hairstyle
body proportions
silhouette
core palette
main outfit language
key accessories
Usually flexible:
pose
expression
background
lighting
camera angle
small props
weather or scene mood
minor outfit details
Define this clearly so future prompts do not become too rigid or too random.

Step 8: Create Future Use Cases
A finished character can support many creative outputs.
Possible reuse ideas:
avatar portrait
mascot pose
game character concept
sticker pack
expression sheet
story illustration
social media character art
wallpaper scene
collectible card design
sprite sheet planning
For each use case, keep the identity anchors in the prompt.

Step 9: Prepare a Skinbase Upload Package
If you want to upload the sheet or related artwork to Skinbase, prepare clean metadata.
Example title:
Nova Wrench Character Bible Sheet
Example description:
A complete AI-assisted character design bible sheet for an original retro space mechanic. The sheet explores front, side, and back views, expressions, outfit variants, palette, accessories, and design notes for future creative reuse.
Example tags:
character-design, bible-sheet, concept-art, ai-character, expression-sheet, outfit-variants, color-palette, accessories, retro-sci-fi
Use tags that describe the work honestly and help people discover it.

Step 10: Keep a Simple Archive
Save the important parts together:
Final sheet image Final character description Reusable character prompt Palette notes Accessory list Consistency rules Upload title and tags Tool or model used Date created Manual edits made
This archive makes it easier to continue the character later.

Reuse Prompt Templates
New Pose
Create the same original character: [character description]. Keep the same face, hairstyle, body proportions, palette, outfit language, and key accessories. Show the character in a confident standing pose with clean studio lighting, game-ready concept art style.
New Expression
Create the same original character: [character description]. Keep the same identity and design anchors. Show five facial expressions: neutral, happy, focused, surprised, and determined. Clean expression sheet layout, consistent face and hairstyle.
New Scene
Create the same original character: [character description]. Keep the same character identity, silhouette, palette, and accessories. Place the character in [scene description]. Maintain a consistent visual style and readable silhouette.
Outfit Variant
Create the same original character: [character description]. Keep the same face, hairstyle, body proportions, color palette, and accessory language. Design one outfit variant for [purpose], while preserving the original character identity.
Common Problems and Fixes
Problem: The character changes too much in new images
Add:
text same character identity, same face, same hairstyle, same body proportions, same silhouette, same color palette, same key accessories
Problem: The new outfit no longer feels like the same character
Add:
preserve the original outfit language, keep the same color roles, keep the same accessories, make this a variant not a redesign
Problem: The AI adds unwanted characters
Add:
one character only, no extra characters, no crowd, no duplicates
Problem: The result has messy fake labels
Add:
text no fake text, no random letters, no messy labels, leave notes area clean
Mini Exercise
Create a reuse kit for your character with these fields:
Character name: Final description: Design anchors: Palette: Accessories: Must stay consistent: Can vary: Reusable prompt: Upload title: Upload description: Tags:
Then use the reusable prompt to create one new image of the same character in a different pose or scene.
Final Quality Checklist
Before considering the character finished, check:
The design has a clear identity.
The views look like the same character.
The expression portraits match the same face.
The outfit variants still feel connected.
The palette is documented.
The accessories are clear.
The consistency rules are written down.
The reusable prompt is ready.
The upload title, description, and tags are prepared.
The character can be used again in future creative work.
Lesson Outcome
By the end of this lesson, you should have a finalized character design, a reusable character prompt, consistency notes, and a simple upload-ready metadata package for future Skinbase or creative project use.
Lesson navigation